Followers

Click on photos to enlarge.

Showing posts with label Victorian. Show all posts

Wednesday, April 2, 2014

Easter challenge at My Artistic Adventures

Hello!

It's time for another challenge over at Heather Hudson's challenge site, My Artistic Adventures.  The theme this fortnight is Easter and/or Flowers which should be easy peasy!  Use at least one of Heather's images and come play along!


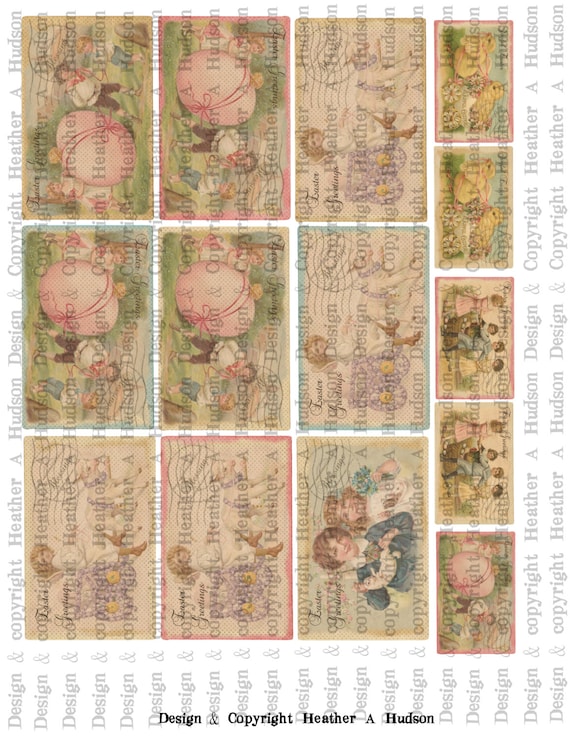
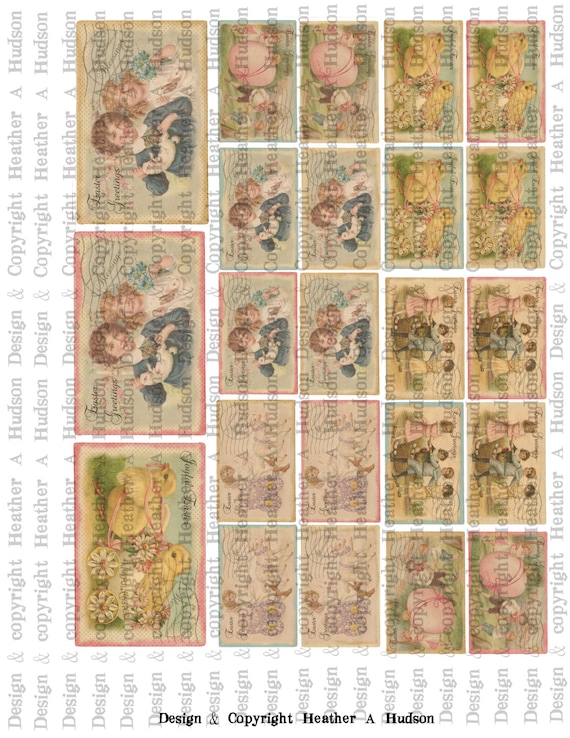
My project was super fun to make.  It's a set of six 2-inch wood puzzle blocks and I used a different vintage postcard from Heather's Etsy shop for each side.  This is my favorite side.  Those cute little chicks are so adorable.  They're from the Vintage Easter Postcards Collage Set and there are three sheets of images to this set - a super value and so versatile!

These little blocks start out brand new with sharp edges and corners, and after much sanding (and more sanding, and still MORE sanding) and painting and distressing and decoupaging, I end up with cute little blocks that look like they've seen many decades of love.


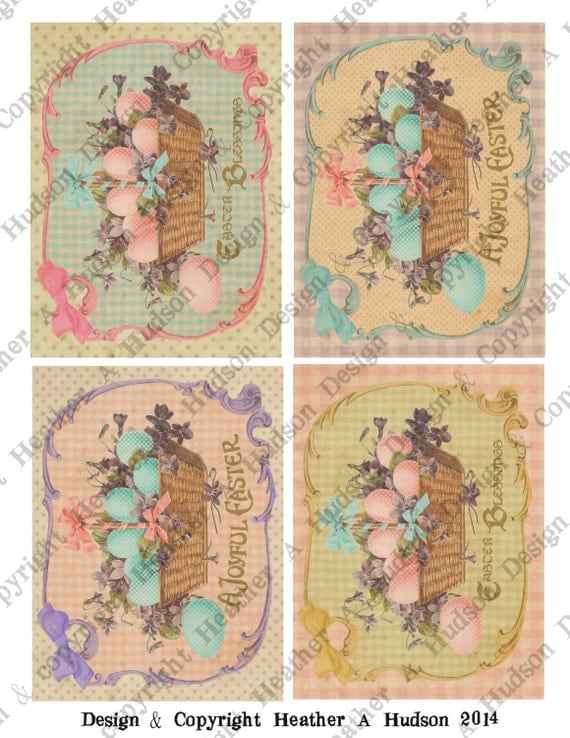
This image is from the Victorian Vintage Basket collage sheet.


From the Vintage Easter Postcards Collage Set mentioned above.


Also from that set.


And another.  See what I mean about versatile?

And you can't have Easter without a cross.


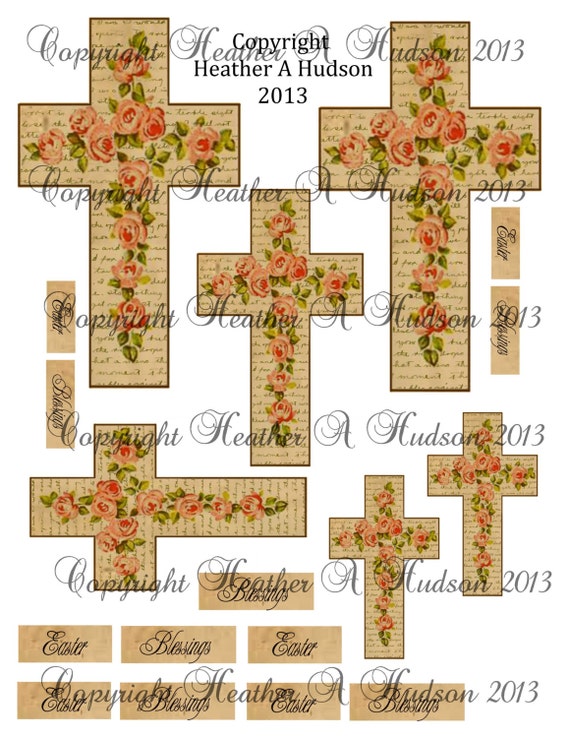
This is from Heather's Shabby Vintage Easter Cross set.  

Thank you for joining me, and I urge you to go visit Heather's blog and that of the other designers to see their Easter/floral creations too.  

Happy crafting!

I will be entering the following challenges:

Altered Eclectics - Anything Goes 
The Shabby Tea Room #212 - Pretty In Pink (this probably doesn't qualify but I couldn't help sharing since the images do contain all the colors and even images of ribbon! :-)   )
Simon Says Monday Challenge - Anything Goes
Creative Card Crew #58 - Animals (Easter Chicks and Bunny)
Oldie But a Goodie -  April Showers Bring May Flowers (I followed the floral theme as opposed to the rain theme.  The blocks are over a year old and I was saving them for a special occasion.)
Divas By Design - Anything Goes


Collage sheets used:
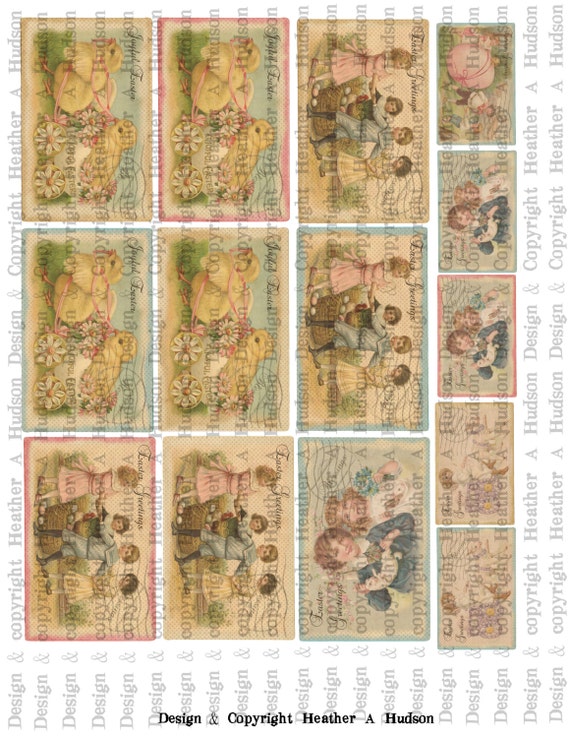
 Vintage Shabby Chic Easter Post Card Focals Digital Collage sheet Printable        


       Victorian Vintage Easter Shabby Pink Basket Violets Eggs Card Fronts Digital Collage sheet Printable 

Shabby Vintage chic Victorian Easter Cross Digital Collage sheet


Saturday, March 15, 2014

Details, details at StampNation

Hello!

Today I'm teaching a tutorial over at StampNation and hope you'll join us!  We'll be talking about certain details that finish a card regardless of how many embellishments there are, if there are any at all.

I had a good time making this card.  I used the wonderful papers, glazes and embellishments sent by the folks over at Tattered Angels for the current challenge going on at StampNation which has been co-sponsored by Tattered Angels (see here for details).  Now for a few close ups...


I sprayed one of the cute sentiments with alcohol ink sprays which I made with two of their Glimmer Glazes, Desert Sun and Sangria.  They made a nice orange and I liked the drips so much that I let them dry that way.  The Tattered Angels mistable and paintable papers take the sprays beautifully, much better than regular card stock or designer paper.


I stamped and colored the pumpkin, then cut it out and coated it with Glossy Accents for shine.  Underneath the black triple bow is some of the orange rope yarn from Tattered Angels which I pulled apart to give a broom-like texture.


Here's the cute little orange clothespin from TA that I dry brushed with a little gesso and then topped with some orange glitter.  Boo!

A little stitching and my card is finished.  


I've left the inside blank for someone's personal note as I will be putting this up for sale in my Etsy shop.  

Thank you for joining me and I do hope you'll pop on over to StampNation to join the fun and check out what the other designers have created for you!

1) To learn more about StampNation, go here.

2)  Become a member right now, go here.  And don't forget, to check out the details of the challenge, go to Catherine's blog here.

Happy crafting!

This card is for sale in my Etsy shop!

Thursday, February 6, 2014

Vintage Valentine No. 4

Hello!

I do believe this makes my last vintage Valentine card for the family!  I still can't say who's getting which so that those who view my blog won't know until Valentine's Day itself!


I think this one might be my favorite, but the one with the napkin background (found here) runs a close second.  OK, I like them all. But this one's still my fave.  Warning:  there are lots of pictures in this post!

As with the other cards, this one uses the darling collage sheets that my lovely and talented friend, Heather Hudson, sells in her Etsy shop.  The Bingo card, the little cupid, the "Love" letters and the curvy banner have all come from there.  And all have been printed and cut with my Silhouette Cameo.  I'd probably still be fussy cutting if I'd had to do it by hand...

After I first prepared the base layers by inking all of their edges, I embossed the top base layer and inked the raised areas then lightly swiped a bit of shimmer paint on them with my finger.  VERY lightly.  It just adds a bit to the overall texture of the background.


This cute little number is from Heather's Cute Cupid Cherubs collage sheet and I've added a bit of coordinating glitter glue to the little shorts, roses, wings and banner.  I didn't fussy cut her (him?), I used my Silhouette Cameo for all of my cutting needs.  I just don't have that much patience.

He (she?) is floating above one of Heather's Vintage Bingo Cards, which I've edged with bronze mica chips for a bit of frantage effect.  I love frantage.  I love saying the word.  Fran-taaaahge...


Once again I've used letters from the Vintage Ivory Alphabet Text boxes, only this time I edged them with gold glitter glue.  My apologies, I couldn't wait for it to dry completely before snapping the picture.  Patience.  Remember?  Not my biggest virtue.

The banner is from the Romantic Banner set.  I snipped off one end (you'll see it later) and inked the edges.


I took a play directly from Heather's play book and inserted a little surprise tag behind the Bingo card.  I've used a tag from her Vintage Medium Tag Bases as, well, the base of the tag, then topped it with one of the oval elements from that same set.

The tiny little tickets are from her Victorian Shabby Tickets collage sheet. There are 35 tickets with various images and sentiments on them in this set - truly a versatile and oh so cute set!


Here are two of them up close, edged with clear glitter glue.  A free hug to the recipient!


Then there's the big, fat, crinkly, silky bow made with the wonderful ribbon from Really Reasonable Ribbon. (The pink seam binding is from there too.)  Don't you just love double loop bows?  I attached a little handmade charm to it...


...as well as an even tinier metal rose charm.  OK, you've probably guessed this card is going to a female member of the family.  Shhh...


And that about wraps up my card except to show that I finished the inside with the rest of the curvy banner that I snipped off from the front, a cute little heart from the Conversation Hearts Images and Bases set, and some more letters. Trust the camera to point out that even wearing TWO pairs of glasses, I can't see to put them in a straight line.

That's it for today, and I thank you for joining me.  This has been a fun few days playing with Heather's wonderful collage sheets.  They go together beautifully whether they're holiday-related or not, and I urge you to go over to her Etsy shop and have a look around.  Then go check out her blog to view her beautiful creations and don't forget to visit her new challenge website and join in the fun!  This fortnight's challenge is Anything Goes, and she even offers a freebie (go here )!

Happy crafting!!


Challenges:

Crafty Ribbons #75 - Anything Goes w/Ribbon
Fussy and Fancy #106 - Vintage
Sugar Creek Hollow #79 - Love and Adore
Pile It On #5 - Add Ribbon
Eclectic Ellapu - Add Texture
Craft-Dee BowZ - Anything Goes + Handmade Bow
Simon Says Monday Challenge - Love Notes
Creative Cutting Challenge #27 - Love
Simon Says Wednesday Challenge - Have a Heart (on the tag and inside the card)
Craft Hoarder's Anonymous #1 - Show Your Style (mine is vintage, bling, and bows)


Tuesday, February 4, 2014

Vintage Valentine Number 3

Hello!

Today features my next Valentine for a family member (this one is probably easy to figure out and I hope he's not peeking at my blog!), and once again, I'm using images from Heather Hudson's fantastic Valentine collection, which you can find in her Etsy shop.


This collage sheet is her Victorian frame and centerpiece, which you can find here.  The images are so gorgeous and ornate that you really don't have to do much to embellish them, though of course I did.  Of course.  But you don't HAVE to.


Shabby Vintage Victorian Valentine's Day Valentine Card  Digital Collage sheet

First up I embossed all four edges of the base with gold embossing powder for a little pizzazz, then I inked the edge of the circular image with black distress ink and popped it up on the frame layer.  But first I smeared gold glitter glue all over that layer to deposit subtle sparkles all over the surface and then edged it with a line of more glitter glue.


A couple of gold grommets hold the black satin ribbon.  See?  No bows (not that guys don't get bows, this piece just didn't need them).  Very subtle, yet still shimmery and sparkly.


I tried to take a picture at an angle where you can see the glitter on the surface of the frame image.  If you click on the image you'll get a much larger one and then you can see it better.  It really does sparkle beautifully in real life.  

Thank you so much for joining me, and here's wishing you a lovely day full of sparkly goodness too!  Don't forget to hop on over to Heather's blog to take part in her latest challenge, "Anything Goes!"  

Happy crafting!


Challenges entered:
Sugar Creek Hollow #79 - Love and Adore
Fussy and Fancy #106 - Vintage
Eclectic Ellapu - Texture
613 Ave. Create #57 - Anything Goes (optional: use felt)
Pile It On #5 - Add Ribbon

Sunday, February 2, 2014

More vintage Valentine goodness

Hello!

Today is another fun challenge over at Heather Hudson's new challenge blog at My Artistic Adventures!  The theme this time is "Anything Goes," and since we still have a couple of weeks until Valentine's Day, and since I still have several more cards to make, that is what I've done for this challenge!


I've used several of Heather's collage sheets from her Etsy shop, but first I'll start with the background layer for this card.  I wanted just the right background for the darling image (Vintage Valentine Postcard set) and postage stamp layer (Vintage Pink Stamp Base set), and regular card stock just wasn't working for me, nor were any of the various printed papers I had on hand.   So...I used a napkin.  I used the tissue paper technique and decoupaged a crumpled piece of a bright, colorful napkin to a layer of kraft card stock, covered it with a layer of white gesso, rubbed most of it off with a damp cloth and then ever so lightly rubbed on a bit of gold Rub 'N' Buff over that.  Just enough to highlight the highest points. I finished off the layer with a bit of gold glitter glue around the edges.


This is the napkin, very tropical and colorful and just perfect for the technique.  (I first separated the colorful top layer of the napkin from the rest of the layers so it would be easier to work with.)


Here is a close up of the two layers mentioned above, plus the cute curvy banner (Victorian Vintage Banners) and the letters for the greeting (Vintage Alphabet Text Boxes), all found in Heather's shop.  Talk about versatile sets.  


I made the double bows on my little homemade bow maker and topped them with a little heart made from real tree bark and a snippet of hemp twine.  I edged the heart with a bit more of the gold Rub 'N' Buff just because.


And here's the inside.  The "pie!!" is so that the recipient will know that I want him or her to be my "Sweetie Pie."  I also used one of the smaller images from the aforementioned postcard set (see?  Very versatile!) and a piece of ribbon left over from the bow on the front.

And that is my challenge card for today.  Thank you for joining me and do stop by Heather's blog to see what the other designers have created for you.  And don't forget to play along!  Anything Goes!!


Happy crafting!!

Challenges:

Sugar Creek Hollow #79 - Love and Adore
Fussy and Fancy #106 - Vintage
Eclectic Ellapu - Texture
613 Ave. Create #57 - Anything Goes (optional: use felt)
Pile It On #5 - Add Ribbon
Craft-Dee Bowz - Handmade bow

Saturday, February 1, 2014

Vintage Valentine

Hello!

Valentine's Day will be here soon and I have several cards to make for members of my family.  As some of them check my blog, it will have to remain a surprise which one is for whom, and they shouldn't assume that the ones without tons of ribbon are for the guys and the ones with tons of ribbons are for the girls.  Nosiree, equal ribbon opportunity is afforded everyone in MY family.  Heh.


This is a rather understated little card, not in keeping with my usual overblown fashion, but I wanted the trim on the darling postcard image to stand out.  It is true vintage hand tatted lace and I only have a snippet of it left.  So dainty and adorable with its little flaws and such.

The image is from Heather Hudson's Vintage Valentine Full Size Postcards set and can be found here.  Sooo sweet. 


 Here's a close up of the hand tatted lace.  And of the stitching I added to the background.


 The little banner is from Heather's Victorian Vintage Curvy Banner set.  That set is FULL of darling curvy banners in all colors and patterns.  The letters are from her Vintage Shabby Alphabet Text Boxes, and the little hearts are faux buttons.


I've left the inside blank for now except for the little tiny heart "booklet" which will hold a special little message.  It's from Heather's Conversation Images Hearts and Bases (this is one of the bases).

And that's that.  Thank you for joining me and I wish you a lovely weekend full of whatever makes you happy.  My daughter and I will be doing some "junking" today in a local thrift and antiques shop, then tomorrow I'll be cooking all sorts of football food and watching the Superbowl with my husband.

Happy crafting!


Tuesday, January 28, 2014

Butterfly Collage

Hello!

All I can say is it's about time I get something posted!  I started this canvas collage last week but life conspired against me such that it took a week to complete!  I won't bore you with the details, but things have finally worked out so that I could finish it and share it with you.

Note: Look no further if heavy embellishment causes you hives or claustrophobia, because this piece is LOADED with it.  <smile>


This is a 6x8" canvas board that is chock full of stuff (my favorite kind!) and techniques.  It starts out with a wonderful tissue technique that gives lots of texture and which I painted shades of brown and red and topped with gold Rub 'N' Buff and some lime green paint flicked on as the last step.  Then I decoupaged a piece of vintage style collage paper from Gecko Galz "Dapper Dan" digital paper set and curled up one of the corners.  And last, I placed a strip of beaded, pink leaf-shaped trim up the left side, but most of that has been covered with the various embellishments.  Typical.


I agree, it IS "always tea time."  At least in this household.  Yesterday I had four cups because it was so cold.  Two in the morning, one in the afternoon and one in the evening.  There is no wrong time when it comes to tea.  

The words have been decoupaged after first inking the edges.  Once the decoupage medium was dry I edged them with clear glitter glue.  There is no wrong time for sparkle in one's life, either.


This cute image is what started the whole thing.  It's from the Gecko Galz "Teatime" digital stamp set.  I smile every time I look at it.  I colored it very softly with Copics and distressed the edges, then I adhered it to the back of the Tim Holtz Weathered Clock die cut made from some of his grunge board.  It was inked and brushed with crackle paint, then I applied some gold Rub N Buff with my finger.  Guess what, it doesn't come off with soap and water, so I had two pretty gold "fingahs" for a couple of days.  (Sorry, was channeling a little Shirley Bassey there.)


That little bitty teapot came from my mother's enormous stash of mosaic/crafting supplies in her garage some time ago and it finally found a home here.  See that little bird?  Too sweet!  The large purple flower behind it was made with a purchased rose that I glittered up a bit and which I then placed on three layers of flower petal "blanks" which I airbrushed with various Copic colors.  I needed a bigger flower than that rose.  

Many of the flowers on this piece have been hand colored including the pink-tipped cherry blossoms and some of the roses, though not all.


The ceramic rose is another piece from my mother's "garage stash" and I've applied drops of Glossy Accents to simulate dewdrops.  The dragonfly is a vintage style brooch.

The rose has been attached to a rather rusty, age spotted vintage key escutcheon.  I layered a bit of hand-dyed cheesecloth underneath for a bit of textural difference and placed a beige pearl where the screw once went.  You can see the keyhole in the first and third pictures.


The butterfly was treated the same as the clock.  It started out as grunge board wings which I inked with two colors of distress ink then brushed on a thick coat of crackle glaze and then finger-rubbed some Rub 'N' Buff over that.  I edged the wings with gold glitter glue and adhered a vintage button as the body.  This is propped up and adhered to a resin rose for the 3-D effect. 

The little wooden clock is from Prima and is purely for decoration.


Another garage stash item is the teacup.  It started out white with a Delft windmill which is on the other side, but I airbrushed it with two colors of Copics (thanks, Katie, for the suggestion!) to tie it in with the teapot.  There are two little brown pearls in it signifying tea.  

That's one of the custom colored cherry blossoms.  Of course I had to put a little glitter on the stamens...

This will go up for sale in my brand new Etsy shop today.

Thank you for joining me, and I wish you lots of fun crafting goodness in your week!

Happy crafting!