Followers

Click on photos to enlarge.

Showing posts with label Heather Hudson. Show all posts

Sunday, May 11, 2014

The Queen of Ever'thang


Hello and Happy Mother's Day!

I hope you are all taking good care of yourselves today and being taken good care of whether you're a mother to children, pets, your plants, whatever.  It's YOUR day!

As is our custom, my daughter and I are spending the weekend at my mother's house (remember the wonderful English cottage garden?  You can see it here.) and are having a wonderful time.  We went "thrifting" and antiquing yesterday (jackpot!), and then last night we saw Johnny Rodriguez in concert.  This little town sure has some big names coming through.  Granted, he's from a different era (my generation as opposed to the NOW generation), but nevertheless, he's one of the biggies.

And now to the project at hand, the one I couldn't share any earlier because my mother reads my blog every day.  Sorry, Mom.  :)


What do you think?  It's the second time I've painted on a mixed media canvas (the first time was here), and I'm quite enjoying it.  It is my goal to paint roses in a decorative fashion (as opposed to a realistic fashion), and I'm starting to feel more comfortable doing so.  

There is a lot of symbolism on this piece, starting with the music notes I stamped onto the colored base layer (I used Neocolors this time).  They're ever so faint, but music is a big part of my mother's life.  Country music from the good old days, not that modern stuff that passes for "country" nowadays.  It plays all day in her house. 


Flowers are another biggie as evidenced by her fabulous garden.  She grows so many kinds of roses, both modern hybrid teas and fragrant antiques.  I have normally given her plants every year for Mother's Day - it was a big tradition for me while she was building her garden.  Roses, hostas, you name it, I probably gave it to her; however, she doesn't do the heavy, hard planting anymore and instead is directing her attentions towards her art, so this year will be the first without a live plant.  Instead, she gets the painted rose which will bloom forever.

 As a side note, I used to grow a very similar rose.  It was a modern hybrid tea and I don't remember the name, but here is a picture which looks exactly like it.  Alas, it was too finicky and no longer resides in my garden.


Two of the digital stamps are from Gecko Galz, and I honestly can't link directly to them because I think they were freebies that Leanne gave to us at the retreat (referenced here), but you could always contact Leanne through the Gecko Galz site (here) to see if she does have them for sale.  I LOVE these images, especially the woman's face, both of which are perfect for Mother's Day.  The "Mother" word has a crown on it because, as today's title states, my mother is the queen of everything.

I added a bit of blush and lipstick with Copics as my mother never EVER leaves the house without her makeup on.  I should be so dedicated.  And the wooden butterfly was painted with shimmer paints to match the rose.  Butterflies are thick as thieves in her gardens.


This soft, vintage image is part of a free collage set that you can obtain over at The Graphics Fairy.  It was designed by my friend Heather Hudson and is featured on her painted canvas blog post here.  It's perfect because my mother had two children, me and my sister.  

By the way, all images were printed onto tissue paper for that soft, see-through effect.  I love how you can see some of the background stamping through them. Card stock is just too thick and heavy for my purposes.

The words "my friend" were printed from my computer, also on tissue paper, and edged with Stickles.


When I had all of the painting done and the images decoupaged, I knew this piece needed something else, something 3-D, and definitely something dangly.  My mother almost never makes a piece of art that something isn't dangling from it somewhere.  So Mom, here are some danglies for you.  At first I thought I'd do a "necklace" but I didn't want to cover the lady's face with it, so then I played around with the vintage chain and it struck me - a charm bracelet!  The first charm is a frog because my mother used to collect frogs, but some years ago she said, "NO MORE FROGS."  Sorry Mom, just one more.  The flower charm of course symbolizes her extensive flower gardens.

Next come the scissors for the woman who sewed nearly all of my clothes as a child.  She also made some of the most fabulous quilts you've ever seen, many of which grace my home.

And of course a heart.  She puts at least one heart on every single project she makes, whether it's quilts, mosaics, paintings, etc.  I don't think I've ever seen her make something that didn't contain at least one heart, if not more.  Because of her, I ♥ hearts.


I made the centerpiece and in-between charms with my various pearls and beads.  The little key (another heart!) was silver but I colored it with a copper Copic marker.  I rarely use silver, and copper looked better.  My mother has always collected keys ever since I was knee high to a grasshopper.  And last but certainly not least, the flamingo.  Why?  Because a few years ago I said I was going to put a flamingo in my front yard for a little bit of tacky fun, and being who she is, my mother made me a huge one, mosaiced in pink and sporting a stylish ceramic bow on her neck.  You can visit Fanny the Flamingo here.  I am now known as "the house on the corner with the flamingo in the front yard."  I truly think this is the ONLY cool yard flamingo out there - nothing tacky about this one.

I will be entering this piece in the Gecko Galz challenge which is all about Mother's Day, and also in the Frilly and Funky challenge which is to use a single word as a focal point.  Hopefully this one qualifies!

So thank you for joining me today - it was long but, well, that's how I roll.  I'm chatty.  And I like lots of pictures.  Here's wishing all you moms out there the most wonderful day that's focused on YOU!  And for my own mother?

I ♥ you, Mom.

Happy Mother's Day!


P.S.  I was on a rose painting roll, and I had a tiny 1" wooden heart, so I painted it for my daughter.  It looked fine until I saw the close up photo.  Clearly I need to work on my vine painting.  I know she'll love it regardless.


Wednesday, April 16, 2014

♪ ♫ On the 4th Day of Christmas...

...my true love gave to meeee...♫ ♪

Hello!

Today is Challenge Day over at My Artistic Adventures, and this fortnight's theme (being as it's the middle of the month) is the Fourth Day of Christmas.  That means Four Calling Birds.  Or any kind of birds in any number.  Or four of anything at all.  I goofed last month and kind of fudged the Third Day of Christmas challenge so I've made quite sure I'm right on target this time with my four (that's 4) NOEL blocks.  


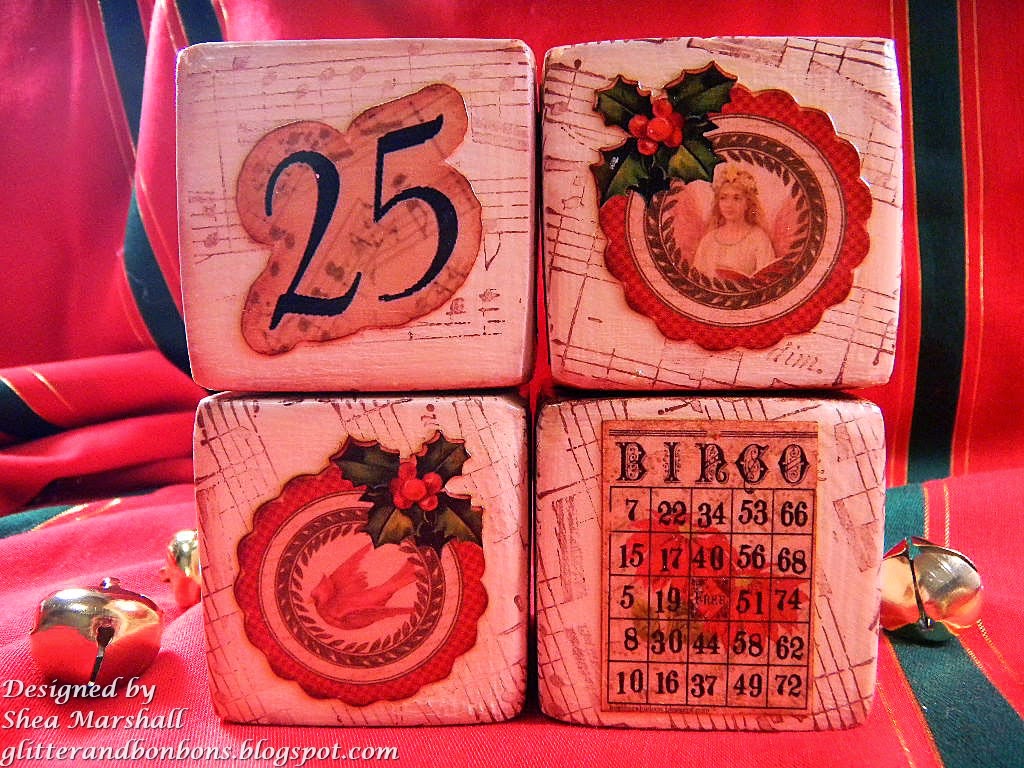
If you've read my blog for any length of time, you know I'm on a big wooden block kick, both using big single 4x4" blocks or multiples of the little 2-inch kind.  These are the little ones.  As usual, they look lots and lots of sanding to give the edges and corners the well-loved look, then I sponged distress ink on all the sides and corners.  Guess what?  When you adhere things with water base glue (Mod Podge in this case), most of that water based distress ink comes off.  However, some does still remain, though it's quite faint in these pictures.  Well, except for the Noel side - I used archival ink on that side so that the top coat of Mod Podge wouldn't' wipe it away.  But more on that later.


I've used several of Heather's collage sheets, reducing them in size then cutting them out with my Silhouette Cameo.  (All collage sheets will be displayed below.)  And before adhering the images, I painted the blocks a cream color and stamped them with brown archival ink using a music note stamp after first stamping off 2 or 3 times.  I wanted just a faint hint of music in the background.

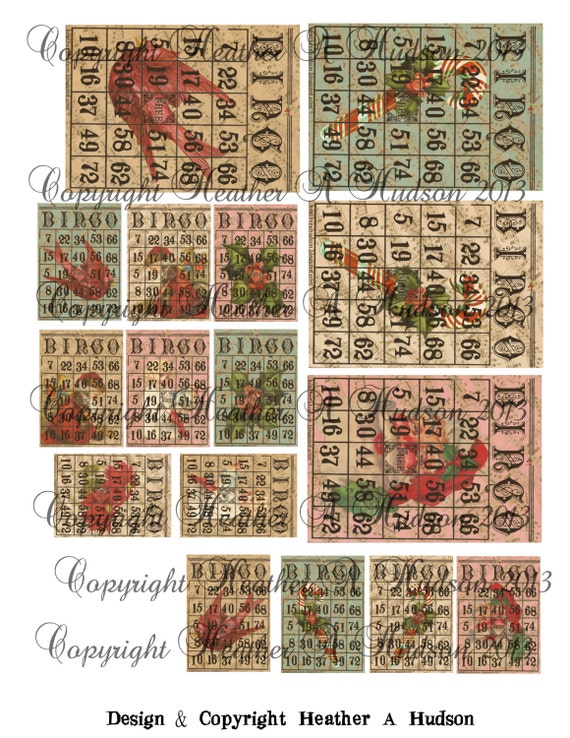
Aren't the little bingo cards cute? 


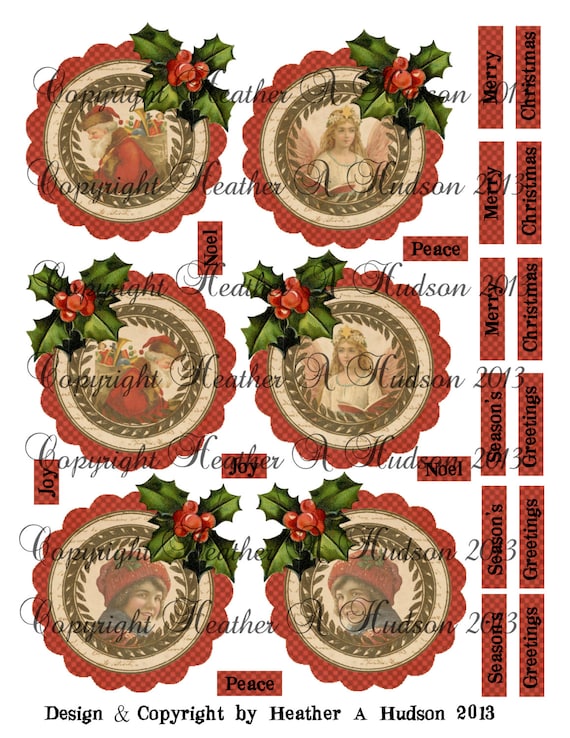
Here's a closeup of the Christmas Greeting image.  


More images.  And yes, there are several birds on these blocks too.  Four Calling Birds, remember?  On four blocks.  No underachievers this month.

Vintage Classic Christmas Countdown Advent Calendar Focal  tags Ornaments  Digital Collage sheet Printable
There are FIVE sheets to this set.

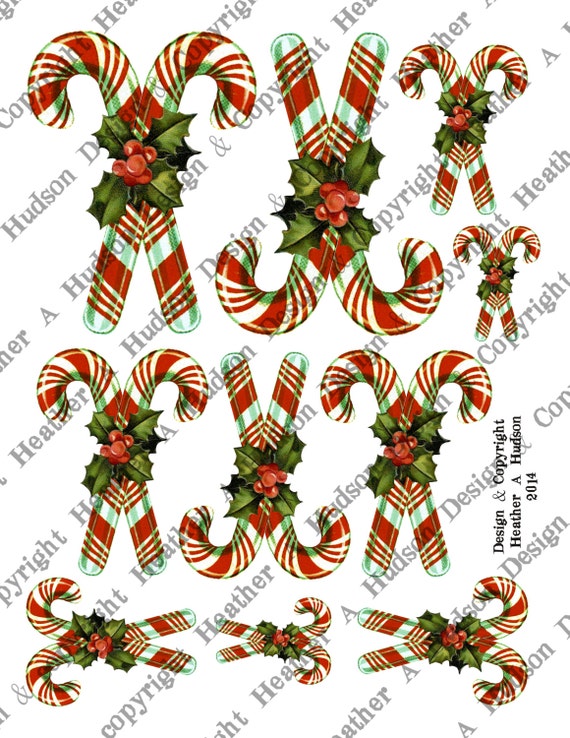
More Christmas cuteness.  See those crossed candy canes?  Heather already had candy cane collage sheets, but none of the candy canes were crossed, so I asked and she delivered.  She's pretty cool that way.   (And they're available in her Etsy shop.)
Vintage Shabby Chic Christmas Crossed Candy Canes Candycanes Tags Ephemera Ornaments Digital Collage sheet Printable

You can see the distressed edges a bit.  Yep, archival inks next time.

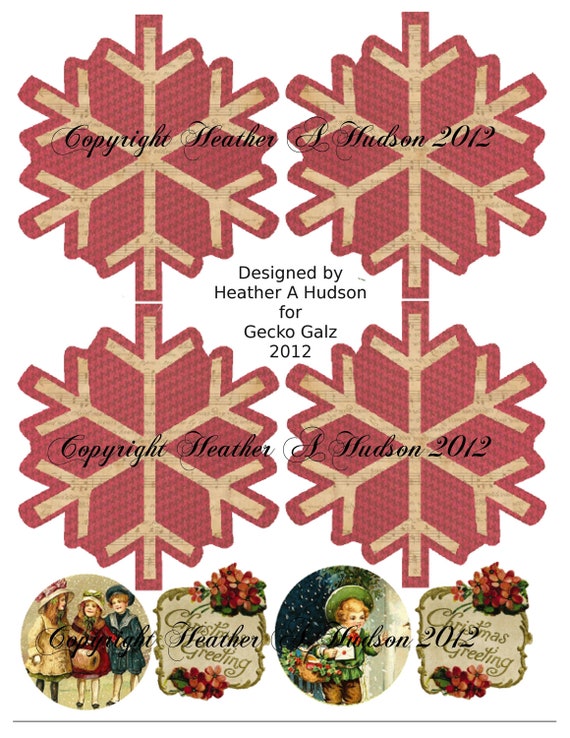
Shabby Vintage Christmas Snowflake Ornaments tag Digital Collage sheet
The letters were stenciled with black acrylic ink but looked a little bland all by their lonesomes, so I sponged brown archival ink around the edges to give each letter a bit of a bright halo, then I sponged gold metallic paint on top of that before giving the final two coats of Mod Podge.

And that, lovely readers, is my project for this challenge.

NOTE:  

Heather has decided to take a break for the summer and  will be starting the Challenges back up in September, plus she will be posting a Design Team Call the End of July.  The challenges will be every two weeks.

Happy crafting!


Wednesday, April 2, 2014

Easter challenge at My Artistic Adventures

Hello!

It's time for another challenge over at Heather Hudson's challenge site, My Artistic Adventures.  The theme this fortnight is Easter and/or Flowers which should be easy peasy!  Use at least one of Heather's images and come play along!


My project was super fun to make.  It's a set of six 2-inch wood puzzle blocks and I used a different vintage postcard from Heather's Etsy shop for each side.  This is my favorite side.  Those cute little chicks are so adorable.  They're from the Vintage Easter Postcards Collage Set and there are three sheets of images to this set - a super value and so versatile!

These little blocks start out brand new with sharp edges and corners, and after much sanding (and more sanding, and still MORE sanding) and painting and distressing and decoupaging, I end up with cute little blocks that look like they've seen many decades of love.


This image is from the Victorian Vintage Basket collage sheet.


From the Vintage Easter Postcards Collage Set mentioned above.


Also from that set.


And another.  See what I mean about versatile?

And you can't have Easter without a cross.


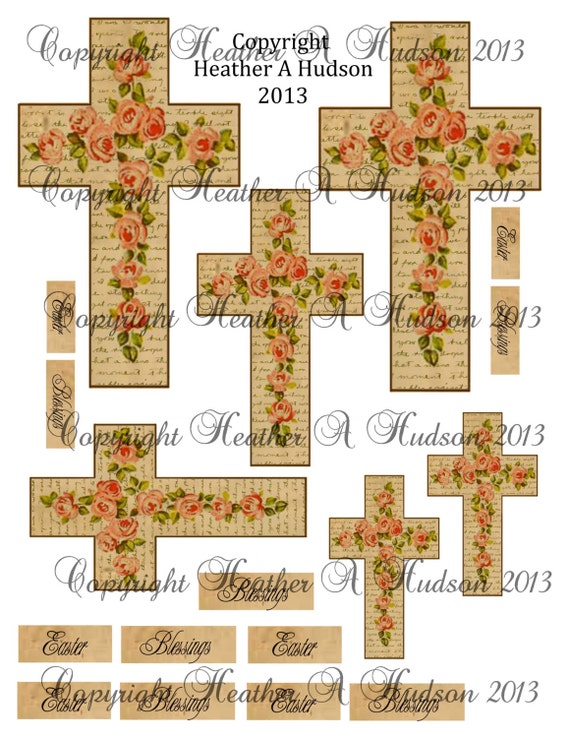
This is from Heather's Shabby Vintage Easter Cross set.  

Thank you for joining me, and I urge you to go visit Heather's blog and that of the other designers to see their Easter/floral creations too.  

Happy crafting!

I will be entering the following challenges:

Altered Eclectics - Anything Goes 
The Shabby Tea Room #212 - Pretty In Pink (this probably doesn't qualify but I couldn't help sharing since the images do contain all the colors and even images of ribbon! :-)   )
Simon Says Monday Challenge - Anything Goes
Creative Card Crew #58 - Animals (Easter Chicks and Bunny)
Oldie But a Goodie -  April Showers Bring May Flowers (I followed the floral theme as opposed to the rain theme.  The blocks are over a year old and I was saving them for a special occasion.)
Divas By Design - Anything Goes


Collage sheets used:

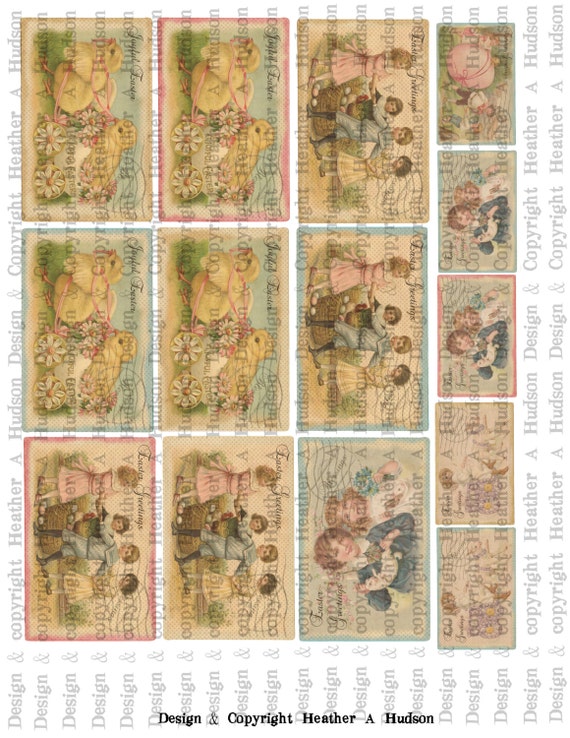
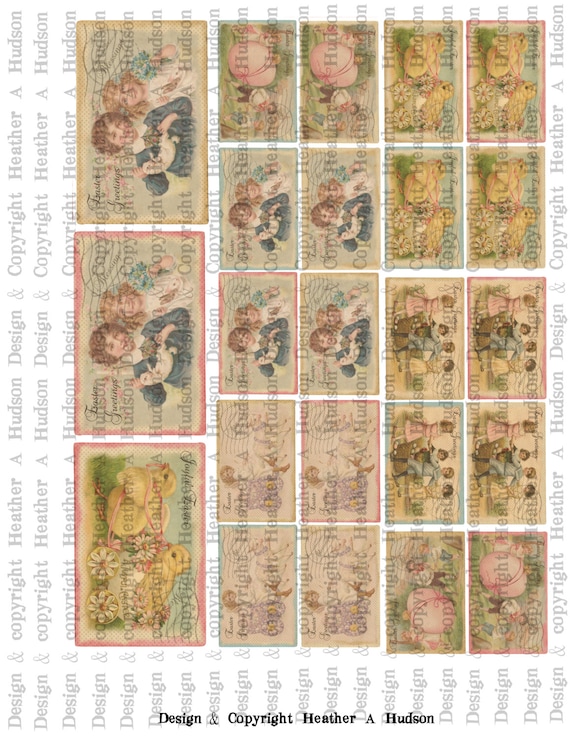
 Vintage Shabby Chic Easter Post Card Focals Digital Collage sheet Printable        


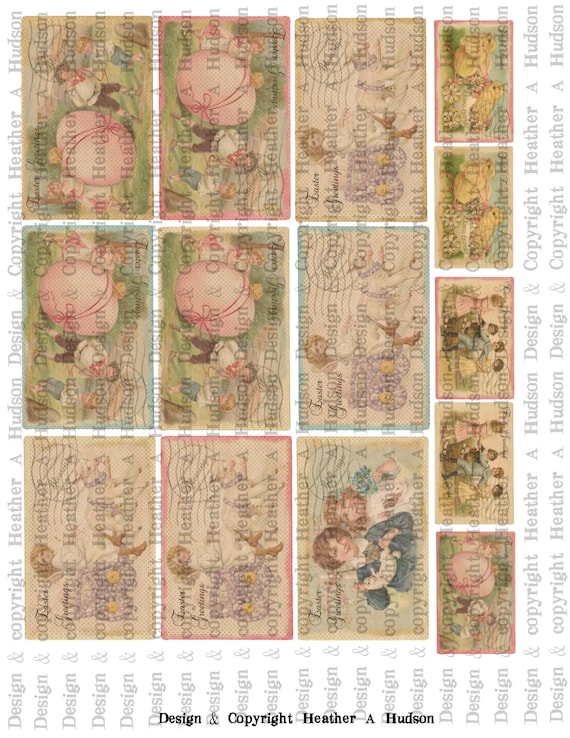
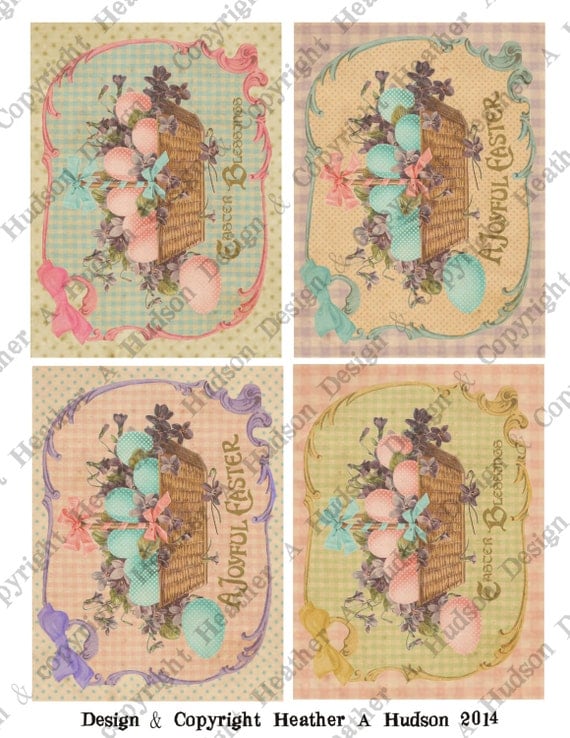
       Victorian Vintage Easter Shabby Pink Basket Violets Eggs Card Fronts Digital Collage sheet Printable 

Shabby Vintage chic Victorian Easter Cross Digital Collage sheet


Sunday, February 16, 2014

On The Second Day of Christmas...

Hello!

It's time for another challenge (using any of her images) over at Heather Hudson's new challenge blog at My Artistic Adventures!  As it is the mid-month challenge, we are continuing the Christmas theme "12 Days of Christmas," and this time it's "Two Turtledoves."  What that means is that she would like to see two of anything, doesn't have to be bird-related.  So two bows, two kinds of glitter, two candy canes, two of whatever you like.  Easy peasy! 


For my side step card (which I cut on my Silhouette Cameo) I chose to use her Vintage Bluebirds collage sheet which includes various sizes of the blue bird image as well as various sizes of the music paper tag.  I then proceeded to layer this card with all kinds of goodies.


The grungeboard Tim Holtz Holiday Lamppost was painted black and then decorated with a bit of silver paint to add a bit of detail, then topped with a layer of clear crackle glaze for texture.  The holly leaves and berries were embellished with a bit of glitter glue, and the "glass" is vellum, the back of which I colored with Copics.  It is layered onto a piece of rustic netting with gold threads shot through.


The little Merry Christmas sign is from Heather's Vintage Candy Cane collage sheet and actually dangles from a gold jump ring and has been embellished with a wee bit of red glitter glue.  The grungeboard holly leaves and berries are glitter glued, too.  It adds so much to the final look!


This is a chipboard (cookie box) poinsettia that I've painted and embellished with more glitter and glitter glue.  I've put die cut leaves behind it and added a few teensy pine cones.


The banner is from the Victorian Vintage Banners sheet and the words are from the Vintage Angels Peace On Earth  sheet.  These are so incredibly useful.


Another look at the lovely blue bird image that I've embellished with a bit of green and red glitter glue.  I made the nest from bits of the same netting that I put behind the lamp, having first taken all the threads apart.  Colored it with a bit of distress ink then added three tiny jingle bells as "eggs."  A few more leaves and another pine cone finish the look.


Here's a candy cane from the aforementioned Vintage Candy Cane sheet.  Of course it, too, has glitter glue added, plus a red rhinestone for the center holly berry.  The snippet of blue lace is a scrap that I had hand dyed some time ago.  I added Perfect Pearls along the top.


I've added a small strip of white seam binding to help the card stay upright as it tends to want to slide and flatten because of all the embellishments. There's still plenty of room to write a short greeting inside.  Sort of.  This kind of card doesn't lend itself to long, wordy messages.

Thank you so much for joining me today, and do head over to Heather's blog to check out what she and the other very talented design team members have created for you.  And then feel free to play along!

Happy crafting!


Challenges:

 Craft Hoarder's Anonymous #1 - What's Your Style? (Vintage with lots of embellishments and STUFF!  I used the netting ribbon from my stash - it's so old I have no idea where it came from. <smile>)

Thursday, February 6, 2014

Vintage Valentine No. 4

Hello!

I do believe this makes my last vintage Valentine card for the family!  I still can't say who's getting which so that those who view my blog won't know until Valentine's Day itself!


I think this one might be my favorite, but the one with the napkin background (found here) runs a close second.  OK, I like them all. But this one's still my fave.  Warning:  there are lots of pictures in this post!

As with the other cards, this one uses the darling collage sheets that my lovely and talented friend, Heather Hudson, sells in her Etsy shop.  The Bingo card, the little cupid, the "Love" letters and the curvy banner have all come from there.  And all have been printed and cut with my Silhouette Cameo.  I'd probably still be fussy cutting if I'd had to do it by hand...

After I first prepared the base layers by inking all of their edges, I embossed the top base layer and inked the raised areas then lightly swiped a bit of shimmer paint on them with my finger.  VERY lightly.  It just adds a bit to the overall texture of the background.


This cute little number is from Heather's Cute Cupid Cherubs collage sheet and I've added a bit of coordinating glitter glue to the little shorts, roses, wings and banner.  I didn't fussy cut her (him?), I used my Silhouette Cameo for all of my cutting needs.  I just don't have that much patience.

He (she?) is floating above one of Heather's Vintage Bingo Cards, which I've edged with bronze mica chips for a bit of frantage effect.  I love frantage.  I love saying the word.  Fran-taaaahge...


Once again I've used letters from the Vintage Ivory Alphabet Text boxes, only this time I edged them with gold glitter glue.  My apologies, I couldn't wait for it to dry completely before snapping the picture.  Patience.  Remember?  Not my biggest virtue.

The banner is from the Romantic Banner set.  I snipped off one end (you'll see it later) and inked the edges.


I took a play directly from Heather's play book and inserted a little surprise tag behind the Bingo card.  I've used a tag from her Vintage Medium Tag Bases as, well, the base of the tag, then topped it with one of the oval elements from that same set.

The tiny little tickets are from her Victorian Shabby Tickets collage sheet. There are 35 tickets with various images and sentiments on them in this set - truly a versatile and oh so cute set!


Here are two of them up close, edged with clear glitter glue.  A free hug to the recipient!


Then there's the big, fat, crinkly, silky bow made with the wonderful ribbon from Really Reasonable Ribbon. (The pink seam binding is from there too.)  Don't you just love double loop bows?  I attached a little handmade charm to it...


...as well as an even tinier metal rose charm.  OK, you've probably guessed this card is going to a female member of the family.  Shhh...


And that about wraps up my card except to show that I finished the inside with the rest of the curvy banner that I snipped off from the front, a cute little heart from the Conversation Hearts Images and Bases set, and some more letters. Trust the camera to point out that even wearing TWO pairs of glasses, I can't see to put them in a straight line.

That's it for today, and I thank you for joining me.  This has been a fun few days playing with Heather's wonderful collage sheets.  They go together beautifully whether they're holiday-related or not, and I urge you to go over to her Etsy shop and have a look around.  Then go check out her blog to view her beautiful creations and don't forget to visit her new challenge website and join in the fun!  This fortnight's challenge is Anything Goes, and she even offers a freebie (go here )!

Happy crafting!!


Challenges:

Crafty Ribbons #75 - Anything Goes w/Ribbon
Fussy and Fancy #106 - Vintage
Sugar Creek Hollow #79 - Love and Adore
Pile It On #5 - Add Ribbon
Eclectic Ellapu - Add Texture
Craft-Dee BowZ - Anything Goes + Handmade Bow
Simon Says Monday Challenge - Love Notes
Creative Cutting Challenge #27 - Love
Simon Says Wednesday Challenge - Have a Heart (on the tag and inside the card)
Craft Hoarder's Anonymous #1 - Show Your Style (mine is vintage, bling, and bows)