Hello and Happy Easter!
Today I'd like to share the card I made for my mother. I started out by covering the base of the card with a layer of designer paper, then layering black card stock with rounded corners and another layer of the same printed paper on top of that. I punched the corners with a corner punch and covered them with glitter and added dots of glitter along the outer edges. This card sparkles like crazy!
I stamped the image onto watercolor paper using Staz-On ink, then tore the edges of the paper into a rough oval shape. I had wanted to layer it onto a lacy oval, but I didn't have any dies big enough, so I edged it with lace trim instead which, even though I snipped it, tended to want to pop up. I liked the "tray" effect and kept it.
I wanted to color the image
using something I hadn't used in many months - watercolor pencils. I
only had a basic set of 12 colors and I did some creative layering to
achieve some of the colors such as the teal ribbon around the egg and the purple-ish pink flower. I added some clear glitter glue to the "eyelets" on the edges of the ribbon and inked the edges of the oval with distress ink.
I cut the butterfly from a piece of designer paper and glittered the edges.
The bow is made using organza ribbon from Really Reasonable Ribbon. The tiny pink flowers are also from RRR. The little green "stems" are the actual stems from some of the flowers that I've curled around a metal rod.
Thank you for joining me and I wish you a lovely Easter with family and friends. And perhaps a chocolate bunny or egg, too.
Happy crafting!
Sunday, April 20, 2014
Wednesday, April 16, 2014
♪ ♫ On the 4th Day of Christmas...
...my true love gave to meeee...♫ ♪
Hello!
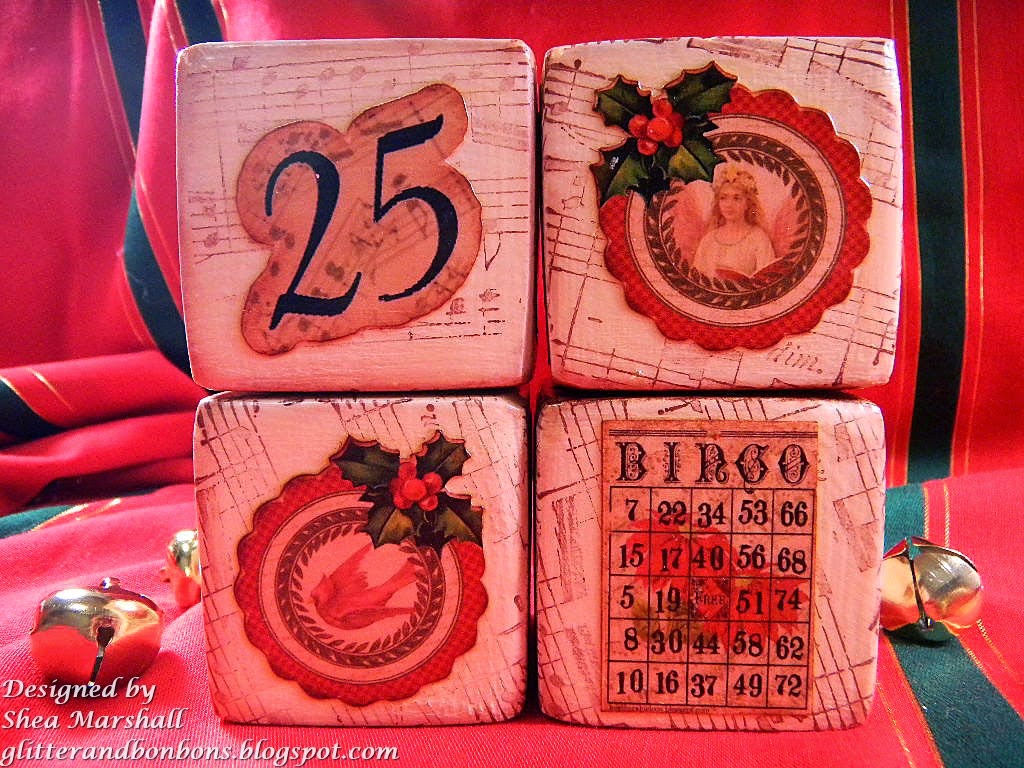
Today is Challenge Day over at My Artistic Adventures, and this fortnight's theme (being as it's the middle of the month) is the Fourth Day of Christmas. That means Four Calling Birds. Or any kind of birds in any number. Or four of anything at all. I goofed last month and kind of fudged the Third Day of Christmas challenge so I've made quite sure I'm right on target this time with my four (that's 4) NOEL blocks.
If you've read my blog for any length of time, you know I'm on a big wooden block kick, both using big single 4x4" blocks or multiples of the little 2-inch kind. These are the little ones. As usual, they look lots and lots of sanding to give the edges and corners the well-loved look, then I sponged distress ink on all the sides and corners. Guess what? When you adhere things with water base glue (Mod Podge in this case), most of that water based distress ink comes off. However, some does still remain, though it's quite faint in these pictures. Well, except for the Noel side - I used archival ink on that side so that the top coat of Mod Podge wouldn't' wipe it away. But more on that later.
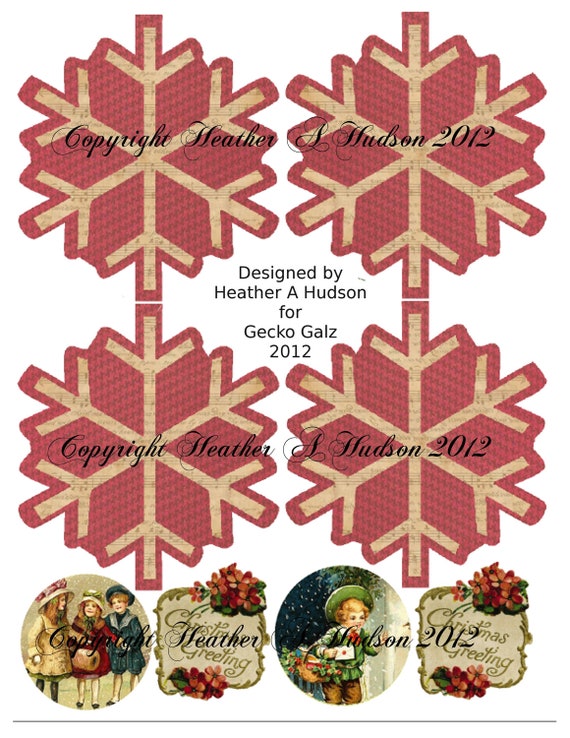
I've used several of Heather's collage sheets, reducing them in size then cutting them out with my Silhouette Cameo. (All collage sheets will be displayed below.) And before adhering the images, I painted the blocks a cream color and stamped them with brown archival ink using a music note stamp after first stamping off 2 or 3 times. I wanted just a faint hint of music in the background.
Aren't the little bingo cards cute?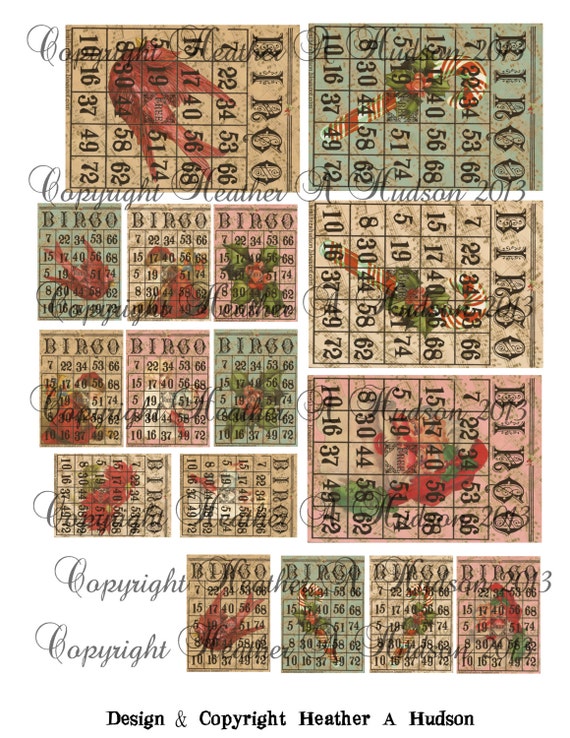
Here's a closeup of the Christmas Greeting image.
More images. And yes, there are several birds on these blocks too. Four Calling Birds, remember? On four blocks. No underachievers this month.
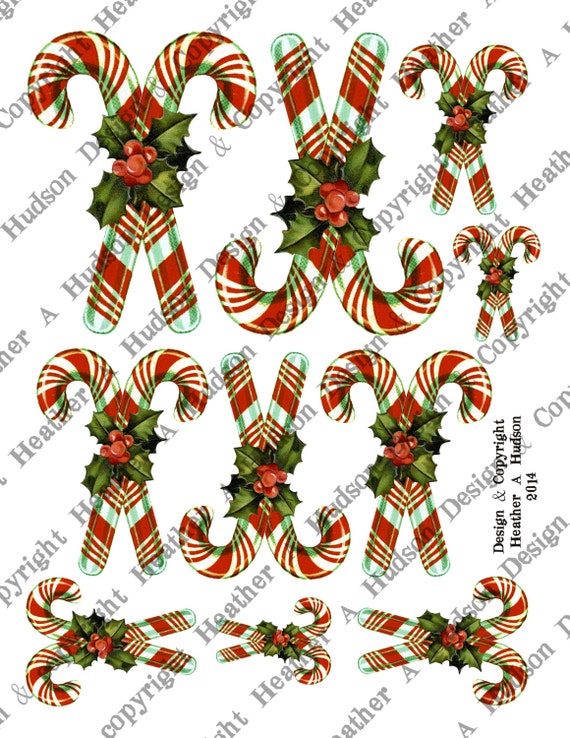
More Christmas cuteness. See those crossed candy canes? Heather already had candy cane collage sheets, but none of the candy canes were crossed, so I asked and she delivered. She's pretty cool that way. (And they're available in her Etsy shop.)
You can see the distressed edges a bit. Yep, archival inks next time.
The letters were stenciled with black acrylic ink but looked a little bland all by their lonesomes, so I sponged brown archival ink around the edges to give each letter a bit of a bright halo, then I sponged gold metallic paint on top of that before giving the final two coats of Mod Podge.
And that, lovely readers, is my project for this challenge.
NOTE:
Heather has decided to take a break for the summer and will be starting the Challenges back up in September, plus she will be posting a Design Team Call the End of July. The challenges will be every two weeks.
Happy crafting!
Hello!
Today is Challenge Day over at My Artistic Adventures, and this fortnight's theme (being as it's the middle of the month) is the Fourth Day of Christmas. That means Four Calling Birds. Or any kind of birds in any number. Or four of anything at all. I goofed last month and kind of fudged the Third Day of Christmas challenge so I've made quite sure I'm right on target this time with my four (that's 4) NOEL blocks.
If you've read my blog for any length of time, you know I'm on a big wooden block kick, both using big single 4x4" blocks or multiples of the little 2-inch kind. These are the little ones. As usual, they look lots and lots of sanding to give the edges and corners the well-loved look, then I sponged distress ink on all the sides and corners. Guess what? When you adhere things with water base glue (Mod Podge in this case), most of that water based distress ink comes off. However, some does still remain, though it's quite faint in these pictures. Well, except for the Noel side - I used archival ink on that side so that the top coat of Mod Podge wouldn't' wipe it away. But more on that later.
I've used several of Heather's collage sheets, reducing them in size then cutting them out with my Silhouette Cameo. (All collage sheets will be displayed below.) And before adhering the images, I painted the blocks a cream color and stamped them with brown archival ink using a music note stamp after first stamping off 2 or 3 times. I wanted just a faint hint of music in the background.
Aren't the little bingo cards cute?

Here's a closeup of the Christmas Greeting image.
More images. And yes, there are several birds on these blocks too. Four Calling Birds, remember? On four blocks. No underachievers this month.
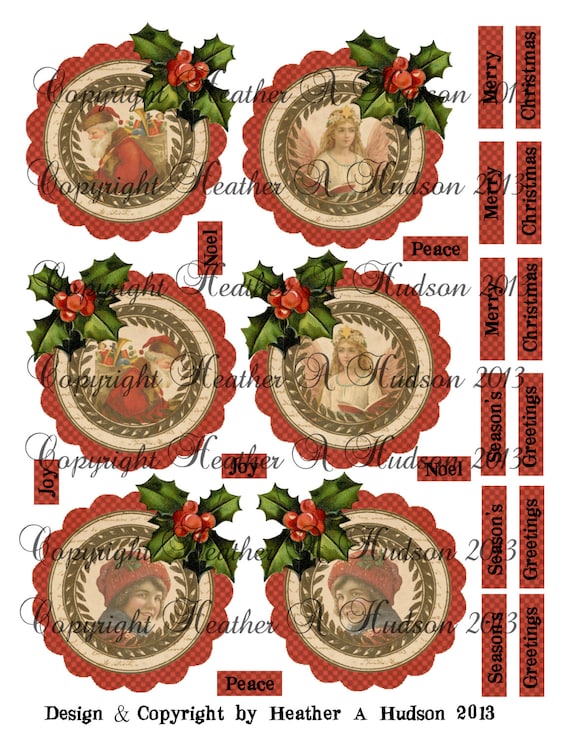 |
| There are FIVE sheets to this set. |
More Christmas cuteness. See those crossed candy canes? Heather already had candy cane collage sheets, but none of the candy canes were crossed, so I asked and she delivered. She's pretty cool that way. (And they're available in her Etsy shop.)

You can see the distressed edges a bit. Yep, archival inks next time.

The letters were stenciled with black acrylic ink but looked a little bland all by their lonesomes, so I sponged brown archival ink around the edges to give each letter a bit of a bright halo, then I sponged gold metallic paint on top of that before giving the final two coats of Mod Podge.
And that, lovely readers, is my project for this challenge.
NOTE:
Heather has decided to take a break for the summer and will be starting the Challenges back up in September, plus she will be posting a Design Team Call the End of July. The challenges will be every two weeks.
Happy crafting!
Friday, April 4, 2014
Spring is here!
Hello!
I know many parts of the U.S. find themselves still in winter's icy grip, but here in North Texas, spring has finally sprung. Hooray, I think. The south winds are at full speed and fierce heat is not far behind. But for now, we are enjoying warmer temperatures, still-cool evenings, and flowers that have begun to bloom as well as trees that are finally leafing out. Pretty late, I might add, thanks to the last winter blast a few weeks ago that demolished my blooming daffodils. Spring in North Texas is always an adventure.
The pansies, which normally bloom well through winter but didn't this year, are finally looking good. Maybe it's because the local wild rabbits finally have other dining opportunities available to them. Nothing is sadder than a bunch of flowerless stalks.
A rogue "redhead" among the bunch. And she looks like she's saying, "Yeah, so WHAT."
This iris has a wonderful fragrance, but only if you get up close and personal. Like, nose-in-the-flower personal.
These are more the color of whipping cream, though they look whiter than that. Combine them with the yellow ones...
... and you have what I call "lemon pie pansies." This year I seem to have much more meringue than filling.
And these are my meager offerings at the moment. It was such a hard winter that plants that should be blooming right now aren't because of the late-season hard freeze we had a few weeks ago which nipped many that were in bud. So I'll share more of my darlings as they start showing themselves, confident that winter is finally behind us.
In other news I thought I'd share a pictorial progress report on my Sweet Sugar Baby VI, affectionately known as "Sweetie." She is going to the vet today for her annual checkup and I'm looking forward to seeing what she weighs.
At four months. This chair in my office is now known as Sweetie's Chair. Don't sit in it or she'll have to come and sit on you. You think that's ok, she's little.
OK, maybe a little big for a lap dog at 8 or 9 months...
...but at 15 months and pushing 60 pounds, she is DEFINITELY not a lap dog. But go ahead, sit in her chair. See what happens.
Hugs!
Wednesday, April 2, 2014
Easter challenge at My Artistic Adventures
Hello!
It's time for another challenge over at Heather Hudson's challenge site, My Artistic Adventures. The theme this fortnight is Easter and/or Flowers which should be easy peasy! Use at least one of Heather's images and come play along!
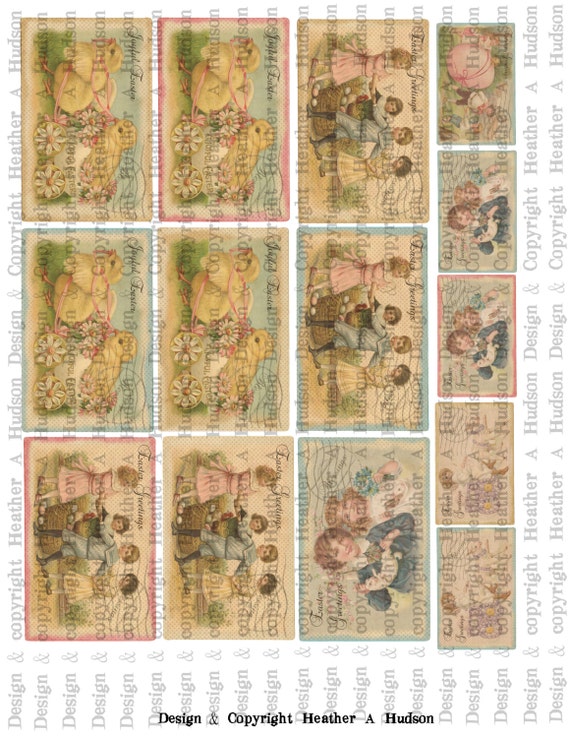
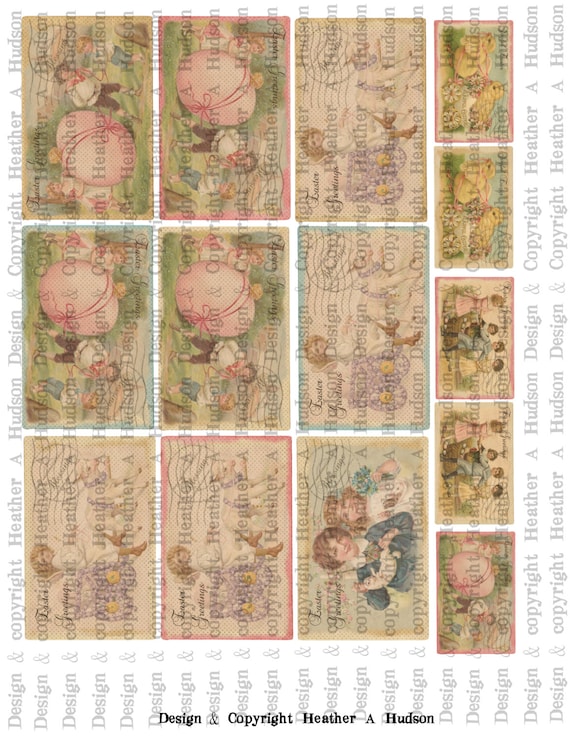
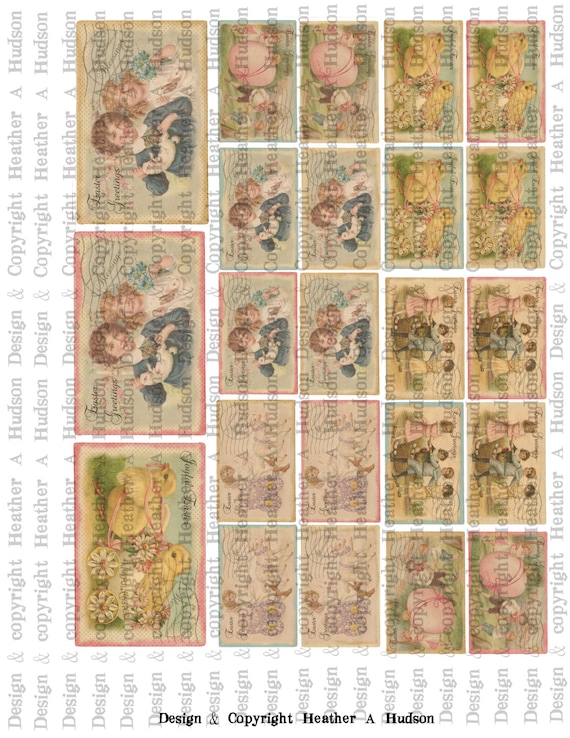
My project was super fun to make. It's a set of six 2-inch wood puzzle blocks and I used a different vintage postcard from Heather's Etsy shop for each side. This is my favorite side. Those cute little chicks are so adorable. They're from the Vintage Easter Postcards Collage Set and there are three sheets of images to this set - a super value and so versatile!
These little blocks start out brand new with sharp edges and corners, and after much sanding (and more sanding, and still MORE sanding) and painting and distressing and decoupaging, I end up with cute little blocks that look like they've seen many decades of love.
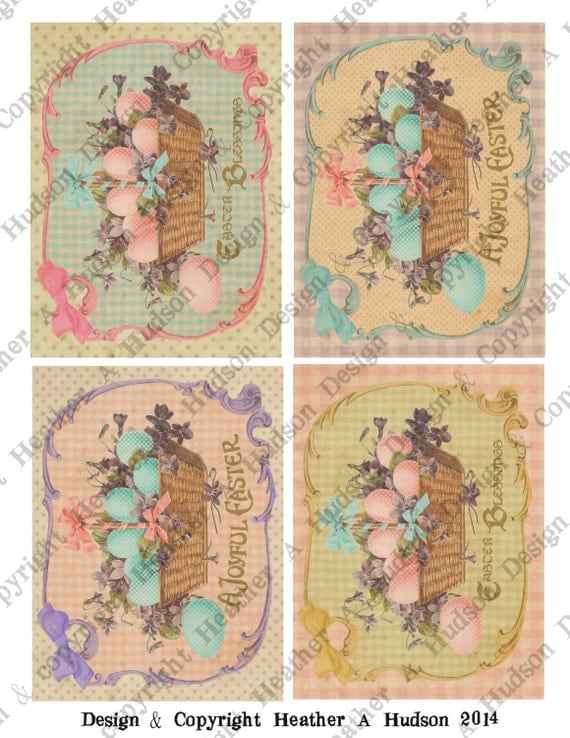
This image is from the Victorian Vintage Basket collage sheet.
From the Vintage Easter Postcards Collage Set mentioned above.
Also from that set.
And another. See what I mean about versatile?
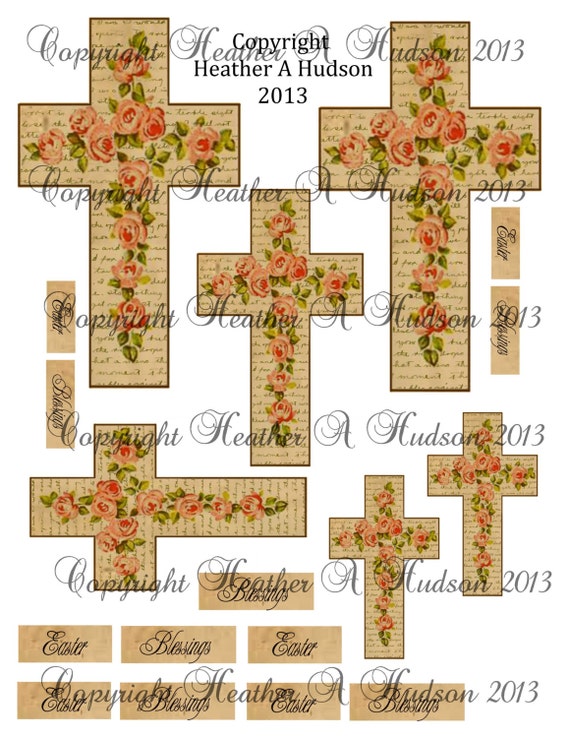
And you can't have Easter without a cross.
This is from Heather's Shabby Vintage Easter Cross set.
Thank you for joining me, and I urge you to go visit Heather's blog and that of the other designers to see their Easter/floral creations too.
Happy crafting!
I will be entering the following challenges:
Altered Eclectics - Anything Goes
The Shabby Tea Room #212 - Pretty In Pink (this probably doesn't qualify but I couldn't help sharing since the images do contain all the colors and even images of ribbon! :-) )
Simon Says Monday Challenge - Anything Goes
Creative Card Crew #58 - Animals (Easter Chicks and Bunny)
Oldie But a Goodie - April Showers Bring May Flowers (I followed the floral theme as opposed to the rain theme. The blocks are over a year old and I was saving them for a special occasion.)
Divas By Design - Anything Goes
Collage sheets used:


Tuesday, April 1, 2014
Saturday's Trip Back in Time - Pt. FINAL
Hello!
I know I said it would be two days, but I just couldn't quite cram it all in, so here's the final installment of the lovely day spent at the Dallas Heritage Village living history museum last Saturday. I'll keep it as brief as possible. HA.
This is the General Store, ca 1907. They had everything from baking supplies to sewing supplies to tools here. I sure would love to have those cabinets for my craft room. And a room large enough to hold them. The old men would play checkers on a barrel in the back corner. (Of the general store, not my craft room.)
This is the town bank, ca 1905. The wrought iron windows were gorgeous.
And last but certainly not least, we arrive at The Millermore Mansion, ca 1855-1862 (7 years to contruct!).
Pretty cool, huh?
Of course there were lots of rooms full of interesting furnishings and accessories, but in the interest of keeping today's post a little shorter, I'll cut to the ones with unique attributes such as this step stool to the bed in the master bedroom. It's rather obvious that it serves a dual purpose. Nothing but the best for the wealthy.
This is one of many types of this art found in the house. It was a very popular form of decoration in Victorian times and you had to look close to figure it out. To get all the different shades, you had to have lots of friends with different colors. Of what? If you guessed "hair," you guessed correctly. The Victorians loved to make intricate designs from hair, their own (collected from hair brushes) and that of their friends. This one was in memory of a loved one, but some were simply for decoration, nothing more. I'd heard of this practice but had never seen one in real life. It took a little getting used to. OK, a lot.
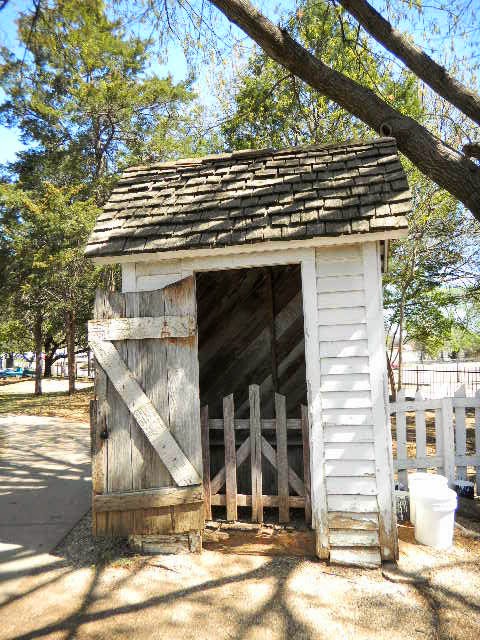
What a cute shed. Or...was it?
Nope. I'm sorry, but the thought of having a friendly chat while conducting business inspired a few giggles. Ah, those Victorians...
And we've reached the end of our tour. I love old barns like this. Barns should all be painted red.
Thank you for joining me and I hope you're encouraged to go visit historical sites in your area. It's always fun to see our customs from way back when.
Hugs!
And one more for good measure...
I know I said it would be two days, but I just couldn't quite cram it all in, so here's the final installment of the lovely day spent at the Dallas Heritage Village living history museum last Saturday. I'll keep it as brief as possible. HA.
This is the General Store, ca 1907. They had everything from baking supplies to sewing supplies to tools here. I sure would love to have those cabinets for my craft room. And a room large enough to hold them. The old men would play checkers on a barrel in the back corner. (Of the general store, not my craft room.)
This is the town bank, ca 1905. The wrought iron windows were gorgeous.
And last but certainly not least, we arrive at The Millermore Mansion, ca 1855-1862 (7 years to contruct!).
Pretty cool, huh?
Of course there were lots of rooms full of interesting furnishings and accessories, but in the interest of keeping today's post a little shorter, I'll cut to the ones with unique attributes such as this step stool to the bed in the master bedroom. It's rather obvious that it serves a dual purpose. Nothing but the best for the wealthy.
This is one of many types of this art found in the house. It was a very popular form of decoration in Victorian times and you had to look close to figure it out. To get all the different shades, you had to have lots of friends with different colors. Of what? If you guessed "hair," you guessed correctly. The Victorians loved to make intricate designs from hair, their own (collected from hair brushes) and that of their friends. This one was in memory of a loved one, but some were simply for decoration, nothing more. I'd heard of this practice but had never seen one in real life. It took a little getting used to. OK, a lot.
What a cute shed. Or...was it?
Nope. I'm sorry, but the thought of having a friendly chat while conducting business inspired a few giggles. Ah, those Victorians...
And we've reached the end of our tour. I love old barns like this. Barns should all be painted red.
Thank you for joining me and I hope you're encouraged to go visit historical sites in your area. It's always fun to see our customs from way back when.
Hugs!
 |
| Look what we found behind the barn! |
And one more for good measure...
 |
| The Victorians had a wonderful sense of humor. |
Subscribe to:
Comments (Atom)


